Welcome to Aluleader Metal
Aluminum Extrusion Process: 11 Key Steps from Design to Finished Product | Aluleader
Understanding the aluminum extrusion process is essential for engineers and procurement professionals looking to source high-quality profiles for their projects. The journey from a solid aluminum billet to a precision-engineered profile involves a series of carefully controlled steps, each playing a critical role in determining the final product's quality, dimensional accuracy, and mechanical properties.
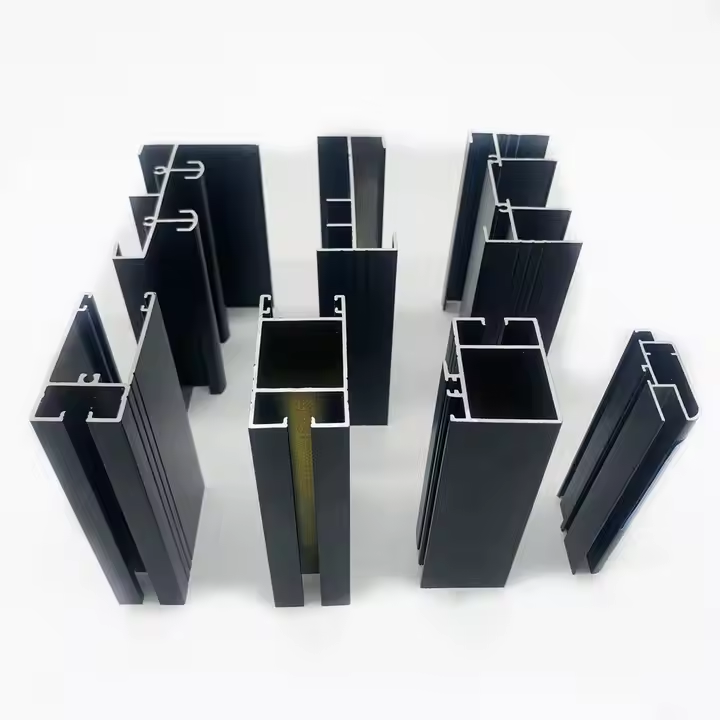
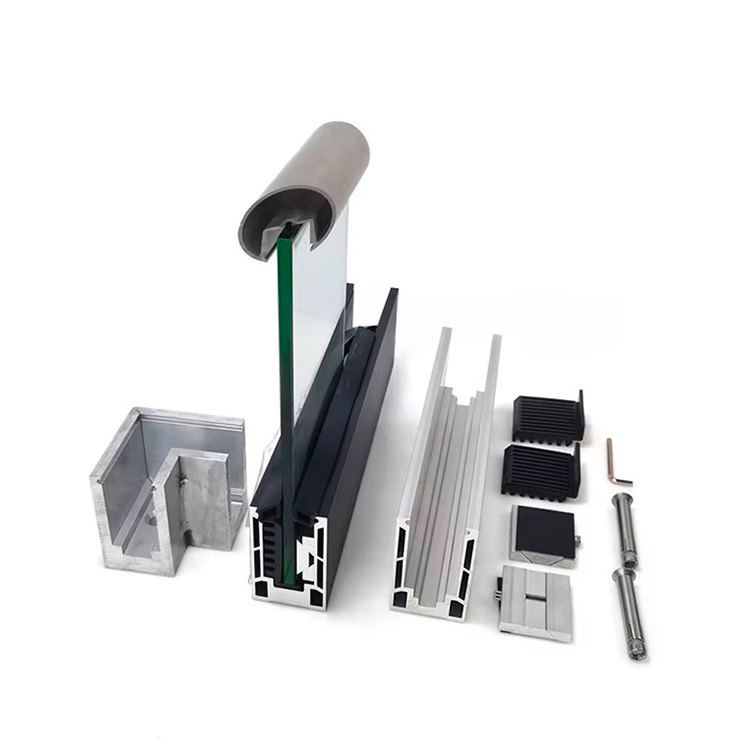
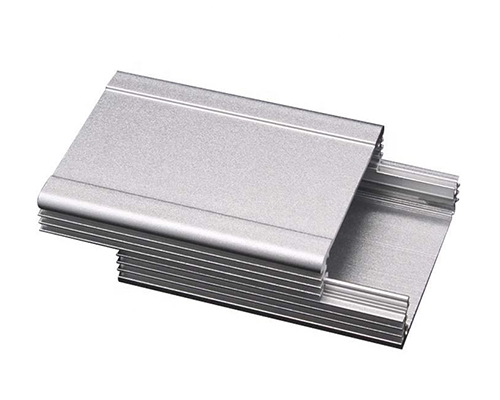
This guide provides a comprehensive, step-by-step breakdown of the entire aluminum extrusion process, from initial design and alloy selection through to surface finishing and packaging. At Aluleader, with our extensive experience in manufacturing architectural profiles, industrial profiles, and furniture/decorative profiles, we follow these rigorous processes to ensure every profile meets the highest standards of quality and precision.
What Is Aluminum Extrusion?
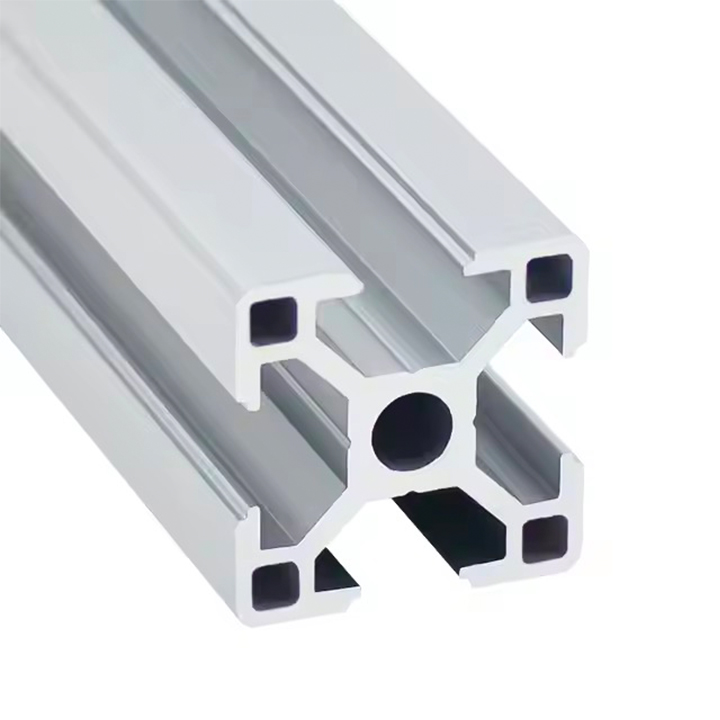
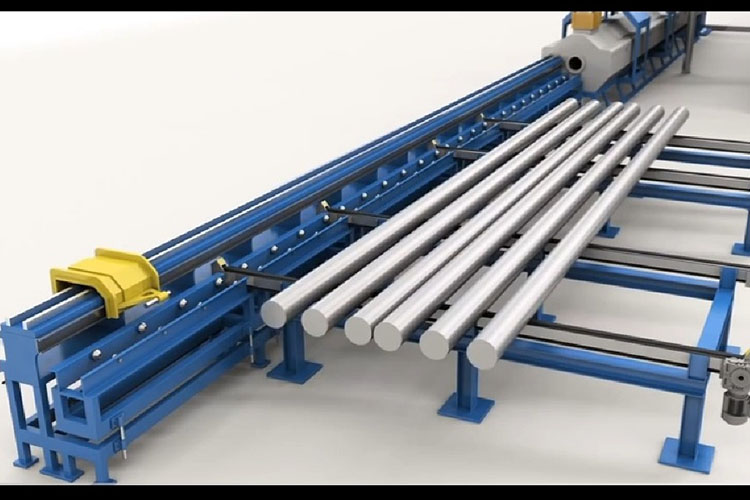
Aluminum extrusion is a manufacturing process that transforms aluminum alloy into objects with a fixed cross-sectional profile. The process involves heating a cylindrical aluminum billet until it becomes malleable but not molten, then forcing it through a precision-shaped die using a powerful hydraulic press. The result is a continuous length of aluminum with a uniform cross-section that matches the die opening. The shape of the die determines the final profile geometry—which can range from simple solid shapes like angles and channels to highly intricate hollow sections with multiple cavities.
Why Extrusion?
The extrusion process offers exceptional design flexibility while maintaining an excellent strength-to-weight ratio. Aluminum is naturally corrosion-resistant and fully recyclable, making it ideal for both functional and sustainable design. Compared to casting or machining, extrusion is highly efficient for producing continuous lengths of custom-shaped parts with consistent quality throughout. This versatility explains why extruded aluminum profiles are widely used across industries including construction, transportation, industrial automation, and consumer electronics.
The Aluminum Extrusion Process: A Step-by-Step Breakdown
The aluminum extrusion process involves a series of carefully controlled thermal and mechanical operations. Each step contributes to the accuracy, strength, and surface quality of the final profile. Below is a detailed breakdown of each stage, with insights from industry-leading practices.
Step 1 – Profile Design and Material Selection
The process begins with a CAD-based profile design, specifying dimensional requirements, tolerances, and any necessary features such as grooves, slots, or channels. If you only have samples or physical drawings, engineers can create CAD drawings for you to confirm before proceeding.
Engineers work closely with extrusion suppliers to optimize the profile geometry for manufacturability and structural performance. The complexity of the design directly affects tooling costs and production feasibility.
Alloy Selection is a critical decision during this phase. Different aluminum alloys offer distinct properties that suit various applications:
6063 Aluminum Alloy offers excellent extrudability and surface finish, making it the most cost-effective choice for shutter louver profiles and wardrobe door tracks in construction and furniture applications.
6061 Aluminum Alloy provides higher strength and excellent weldability, making it ideal for structural applications and industrial structural profiles.
6082 Aluminum Alloy delivers excellent strength, corrosion resistance, and machinability, commonly used in transportation, construction, and marine structural applications.
7075 Aluminum Alloy is a high-strength alloy often specified for aerospace applications where weight and durability are critical.
The choice of alloy depends on factors such as required strength, formability, and environmental exposure. Each alloy can be further processed through tempering and surface treatments to achieve desired properties for specific applications.
Design Optimization Tip: Simplifying profile geometry by avoiding sharp internal corners, deep narrow slots, and excessive asymmetry can reduce die costs and improve extrusion speed. Our engineering team provides design for manufacturability (DFM) reviews to help you balance performance with cost efficiency.
Step 2 – Die Design and Fabrication
Once the profile design is finalized and the alloy selected, engineers develop a custom extrusion die that will shape the aluminum during the extrusion process. The die is manufactured from high-strength tool steel, typically H13 grade, which offers excellent heat and pressure resistance.
Die Machining: The die must be machined to precise dimensions matching the profile design. Complex shapes require sophisticated EDM (electrical discharge machining) processes, increasing both fabrication time and cost.
Die Preheating: Before use, the die is preheated to approximately 400-500°C to match the aluminum billet temperature. This prevents thermal shock and ensures uniform metal flow during extrusion.
Die Test Run: Once manufactured, the die must be installed on the extruder for a test run. Because high temperatures generated during extrusion can cause some deformation, test runs are essential to confirm that the final profile meets the shape, size, and tolerance requirements specified in the technical drawings. Critical areas—such as thin-walled sections—are inspected for potential deformation, cracking, or other defects.
Key Cost Driver: More complex profiles require more advanced tooling and slower extrusion speeds, which can increase both tooling costs and production time. Simple solid dies typically cost $500-$1,500, while complex hollow dies can exceed $12,000. Discuss die amortization options with your supplier for larger orders.
For a deeper understanding of the tooling aspect, you may find our guide to aluminum extrusion die design and lifespan useful.
Step 3 – Billet Preparation and Heating
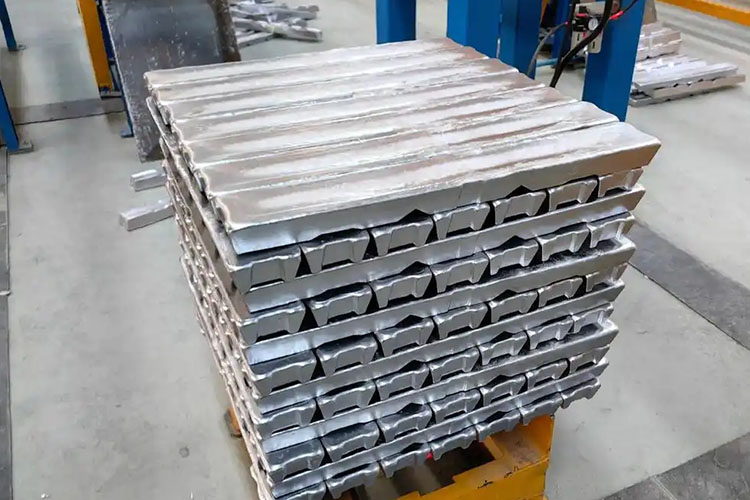
The raw material for extrusion is a solid cylindrical aluminum billet, typically produced through casting and homogenization processes to ensure consistent metallurgical properties.
Homogenization eliminates micro-segregation that occurs during solidification. The billet is heated and held at a controlled temperature to achieve a uniform grain structure, improving extrudability and final product quality.
Billet Heating: The billet is loaded into a furnace and heated to approximately 400-480°C (750-900°F). At this temperature, the aluminum becomes ductile and malleable but remains solid—it does not melt.
Temperature Control: Precise temperature control is essential. If the billet is too hot, it may cause surface defects or even melt; if too cold, excessive pressure is required and die wear increases. Typical heating time is about 3.5 hours to reach the target temperature, followed by a 1-hour hold to ensure uniform temperature throughout the billet.
Note: The melting point of aluminum is approximately 660°C (1,220°F). Extrusion temperatures are carefully maintained below this threshold to ensure the metal remains solid but soft enough to flow through the die.
Step 4 – Loading into the Extrusion Press
Once the billet reaches the proper temperature, it is transferred to the extrusion press container. The container—also preheated—houses the billet during the extrusion process.
Container Preheating: The extrusion container is preheated to 420-450°C to prevent heat loss from the billet when it is loaded.
Loading: The heated billet is carefully loaded into the container, positioned directly behind the die. Lubricants may be applied to reduce friction between the billet and container walls, preventing sticking and ensuring smooth material flow.
Step 5 – Extrusion
This is the core stage where the aluminum is transformed into the shaped profile.
Applying Pressure: The hydraulic press ram applies immense pressure—typically 10,000 to 15,000 psi (or up to 15,000 tons in large presses)—to force the billet against the die. As pressure increases, the billet first crushes against the die, expanding to fill the container, then begins to squeeze through the die opening.
Forming: As the aluminum flows through the shaped die opening, it emerges from the other side as a fully formed profile. The die shape determines the final cross-section—whether simple or highly complex with multiple cavities.
Extrusion Speed: Speed is adjusted based on alloy type and profile complexity. Typical speeds range from 5-20 m/min for hollow profiles to 10-30 m/min for solid profiles. More complex profiles require slower speeds to maintain dimensional accuracy and surface quality.
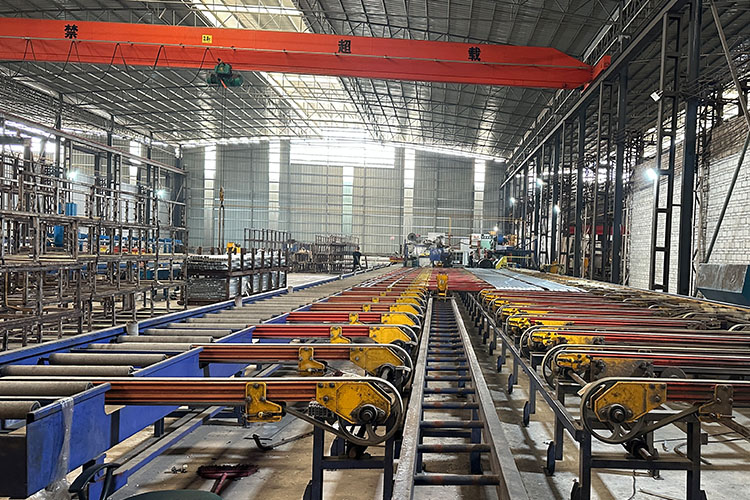
Pulling: As the profile emerges, a puller equipped with flexible grippers grips the profile and guides it forward continuously, ensuring uniform extrusion speed and preventing warping.
Key Production Parameters: Extrusion pressure must be maintained below 210 MPa, and the exit temperature is typically controlled between 510-530°C to ensure proper metallurgical properties.
Step 6 – Quenching (Cooling)
Immediately after the profile leaves the die, it is cooled rapidly to lock in the mechanical properties and stabilize the aluminum's internal structure.
Cooling Methods: Cooling is typically achieved using fans (air cooling), water spray, or a full water quench, depending on the alloy and required mechanical properties.
Temperature Control: The extrusion must cool at a specified rate to achieve the desired temper and mechanical properties. For most 6-series alloys, the profile is cooled to below 200°C before proceeding to the next stage.
This rapid cooling (quenching) is critical because it "freezes" the aluminum's grain structure, preventing unwanted grain growth and preparing the material for the strengthening effects of the aging process.
Step 7 – Stretching and Straightening
After cooling, the extruded profile undergoes mechanical stretching to correct any distortions introduced during the extrusion and cooling processes.
Tension Stretching: A mechanical stretcher grips both ends of the extruded length and applies a controlled tensile force. This process corrects natural twisting or warping, ensuring the profile meets dimensional specifications and is perfectly straight.
Alignment Verification: The stretched extrusion is checked to ensure it meets required tolerances and geometric specifications. For most profiles, the stretch rate is controlled between 0.1% and 1.5% to avoid over-stretching.
Stretching not only straightens the profile but also aligns the grain structure, improving the mechanical properties and ensuring consistent performance in the final application.
Step 8 – Shearing to Length
Once straightened, the long continuous extrusion is cut into shorter segments (typically 8 to 24 feet) for further processing and handling.
Cutting: Hot saws or shearing machines cut the extrusion to specified lengths, typically ranging from 8 to 21 feet depending on customer specifications and shipping requirements.
Length Control: Accurate length cutting is essential for downstream operations, packaging, and to minimize waste.
Step 9 – Artificial Aging (Heat Treatment)
The final "hot" step is artificial aging, which strengthens the extrusion by altering the internal structure of the aluminum alloy.
Aging Process: The cut profiles are loaded into an aging furnace and heated to approximately 170-200°C for 1-8 hours, depending on the alloy and required temper designation.
Temper Designations: T5 and T6 are the most common temper designations for structural and load-bearing applications.
T5 Temper: Profiles are cooled after extrusion and then artificially aged without any solution heat treatment. This is common for 6063 alloys.
T6 Temper: Profiles are solution heat treated, quenched, and then artificially aged, resulting in higher strength. This is typical for 6061 and 6082 alloys in structural applications.
Cooling After Aging: After aging, the profiles are cooled—either naturally or with forced air—to room temperature. This completes the heat treatment process, and the profiles are now at their target mechanical properties.
Step 10 – Surface Finishing and Secondary Operations
Most extruded profiles require additional processing before they are ready for final use.
Surface Finishing Options:
Anodizing: Electrolytic oxidation process that enhances corrosion resistance, wear resistance, and provides a decorative metallic finish. Anodizing adds $800-$1,400 per ton.
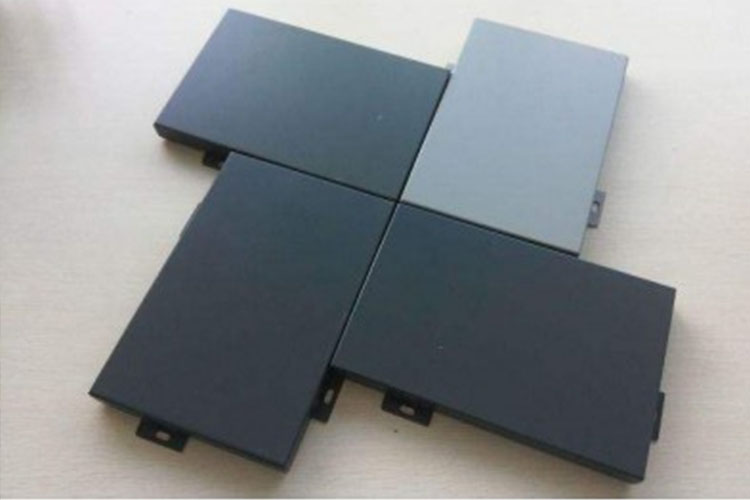
Powder Coating: Electrostatic application of colored powder, cured to form a durable, protective layer. Costs $1,300-$1,800 per ton.
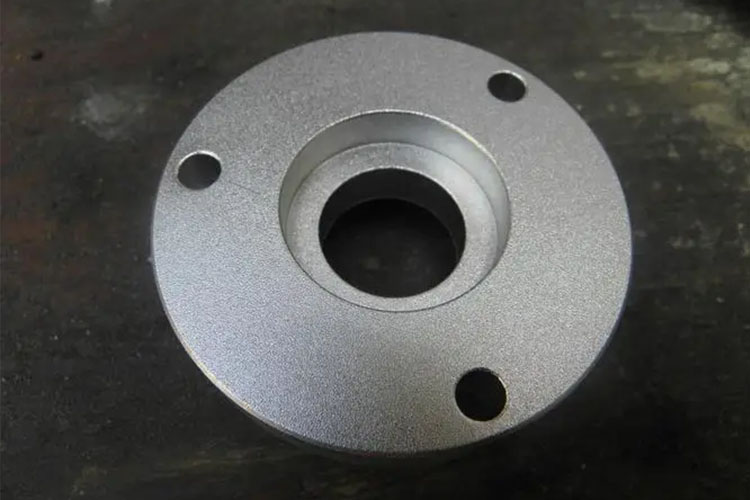
Mechanical Finishes: Polishing (improving gloss), brushing (creating a fine textured effect), and sandblasting (creating a uniform rough texture).
Specialty Finishes: Electrophoresis (uniform protective film), wood grain transfer (simulating wood texture), and laser engraving (high-precision markings).
Secondary Fabrication:
CNC Machining: Drilling, milling, and complex contouring for precise assembly requirements. Costs $900-$2,100 per ton.
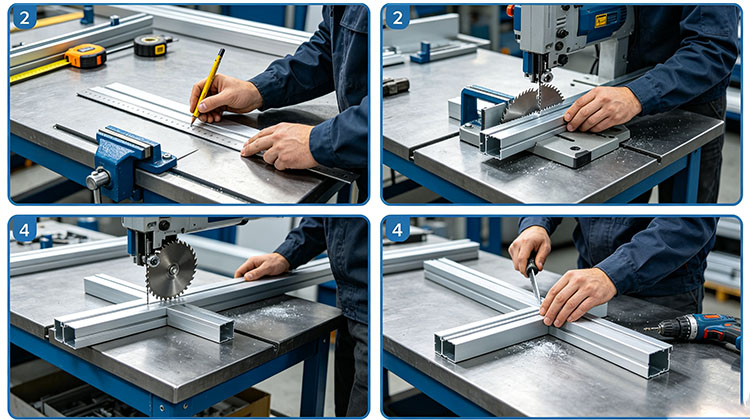
Cutting and Drilling: Additional precision cutting and hole punching. Costs $200-$300 per ton.
Bending and Welding: Forming profiles into curved or assembled components for specialized applications.
Cost-Saving Tip: Integrate functional features into the extrusion design to reduce or eliminate downstream machining. Our engineering team offers DFM support to help you identify these opportunities.
Step 11 – Quality Inspection
Throughout the process, rigorous quality control ensures every profile meets specifications.
Dimensional Inspection: Measurements verify that each extrusion meets specified tolerances, typically ±0.15mm to ±0.5mm depending on profile size and standard (EN 12020 or ASTM B221).
Surface Inspection: Visual checks identify any defects in surface quality, color, or texture.
Mechanical Testing: Hardness and tensile strength tests confirm that the extrusion meets required mechanical specifications.
Step 12 – Packaging and Shipping
The final step before delivery is proper packaging to protect profiles during transit.
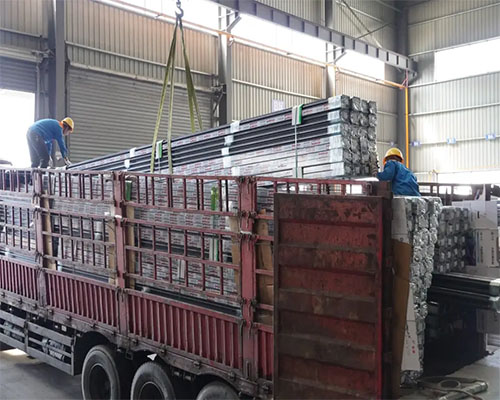
Standard Packaging: Kraft paper interleaving, plastic wrapping, and steel strapping provide adequate protection for most applications.
Custom Packaging: Individual wrapping, foam interleaving, or wooden crating for export. Custom packaging adds $0.10-$0.50 per kg.
Shipping: Domestic or international shipping considerations affect lead times and total landed costs.
Related Posts
To deepen your understanding of aluminum extrusion and make more informed sourcing decisions, we recommend exploring these related articles from our blog:
How to Choose an Aluminum Extrusion Supplier — Key criteria for selecting a reliable manufacturing partner.
Aluminum Extrusion Cost Analysis — A detailed breakdown of cost components and cost-saving strategies.
Aluminum Alloy 6063 vs 6061: Which One to Choose — Detailed comparison to help you select the right material for your project.
Surface Finishing Options for Aluminum Extrusions — An overview of anodizing, powder coating, and other finishes.
Applications of Aluminum Extrusion in Different Industries — Explore how extrusion is used across construction, automotive, electronics, and furniture.
Frequently Asked Questions (FAQ)
Q: What's the difference between hot and cold aluminum extrusion?
A: Hot extrusion uses preheated billets (400-500°C), which is the standard for aluminum. Cold extrusion is performed at room temperature and is typically used for other metals like steel, where higher forces are required to shape the material.
Q: How long does the aluminum extrusion process take?
A: From billet heating to final packaging, standard lead times range from several hours to a few days, depending on profile complexity, finishing requirements, and order volume. For custom projects, factor in die fabrication time (typically 2-4 weeks) for initial production.
Q: Can one die be used for different profiles?
A: No. Each extrusion die is custom-made for a specific profile shape and cannot be used for other cross-sections. Minor design changes require new or modified tooling. However, once a die is paid for, it can be reused for repeat orders.
Q: What is the T6 temper, and why is it used?
A: T6 refers to a heat treatment process (solution heat treatment, quenching, and artificial aging) that improves hardness and mechanical strength. It is commonly specified for structural applications where load-bearing capacity is critical.
Q: How accurate are aluminum extrusion tolerances?
A: Tolerances typically range from ±0.15mm to ±0.5mm depending on profile size and standard (e.g., EN 12020 for architectural profiles or ASTM B221 for general extrusions). Stricter tolerances may be achievable but will increase production costs.
Q: What is the maximum size of aluminum extrusion that can be produced?
A: The maximum size is determined by the press capacity and the profile's circumscribing circle diameter (CCD). Presses range from 100 tons to over 15,000 tons, allowing profiles with CCDs up to 500mm or more. For project feasibility, consult with your extrusion supplier.
About Aluleader
With over 15 years of experience in the aluminum extrusion industry, Aluleader provides high-quality architectural profiles, industrial profiles, and furniture/decorative profiles. Our integrated capabilities span the entire production chain—from die design and extrusion to CNC machining, surface finishing, and fabrication.
Our engineering team is committed to helping clients optimize designs for manufacturability and cost-efficiency. For project-specific questions or detailed inquiries about the extrusion process, our experts are available to provide technical guidance and project support.